Create A VLAN in Cisco Packet Tracer
INTRODUCTION
VLAN stands for Virtual LAN or Virtual Local Area Network. In a Network you can create two or more virtual network. VLAN will offer you to communicate between all devices in same network. You can also create a VLAN in different network. That is called Inter VLAN Routing. VLAN is for dividing a network in some parts that will work on same purpose.
CREATING VLAN
To create a VLAN in a network follow the instructions below.
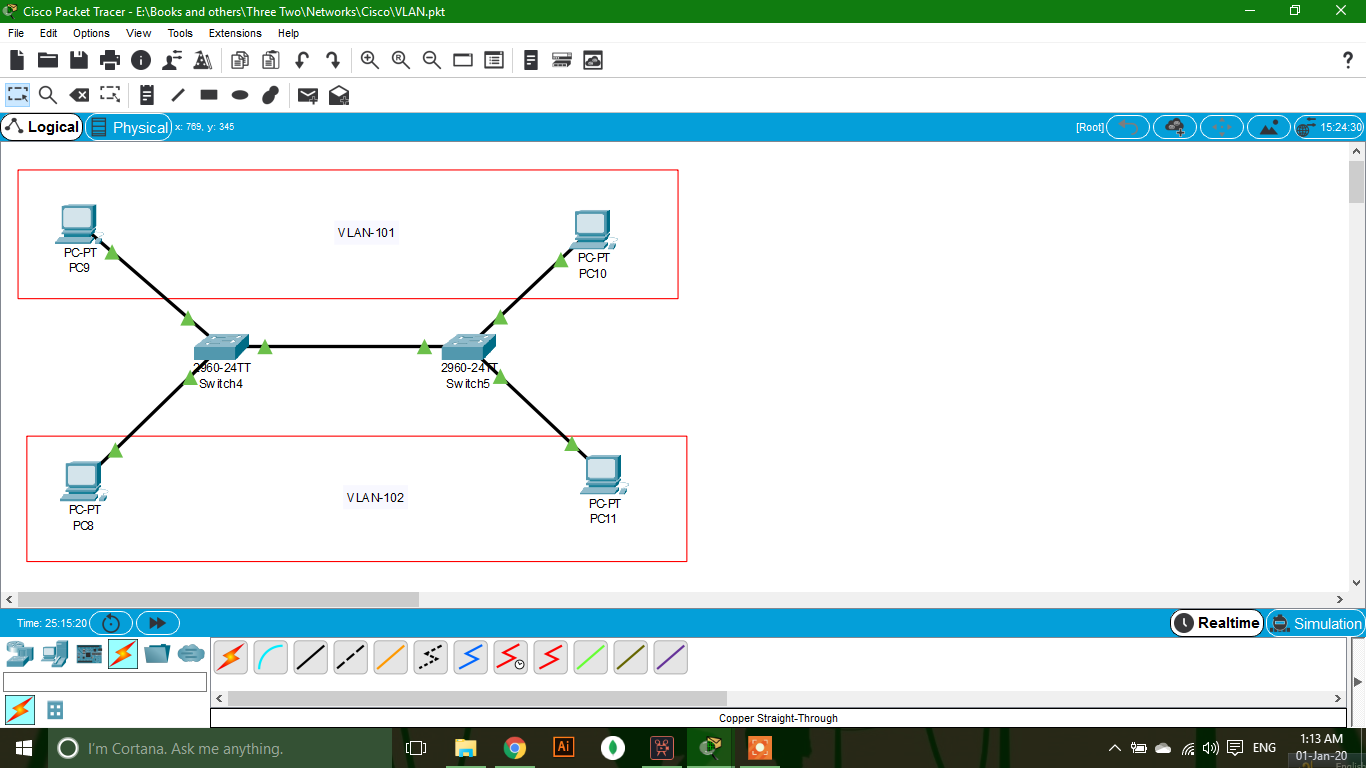
- Build a network using Switch and PC only. Take at least 3 PC and at least 1 Switch (i.e. 2 Switches, 4 PC).
- Set IP Addresses to all PC. IP addresses must be of same network.
- Set up both switch as the instructions below.
Setting Up a Switch For VLAN
- Click on the Switch. A popup window will be opened.
- Go to CLI tab in the popup window.
- Click in command box.
- Press “Enter”.
- To enable the switch give give following command:
enable
- To enable configuration mode give following command:
configure terminal
- To access a specific port give following command:
interface fastethernet <PORT NUMBER>
For example for first port:
interface fastethernet 0/1
- Convert the port mode to trunk (Consider it is connected to another switch):
switchport mode trunk
- To exit the port give the following command:
exit
- To access second port give following command:
interface fastethernet 0/2
- To configuration it to VLAN-101 give following command (Consider it is connected to a PC):
switchport access vlan 101
- To exit the port give the following command:
exit
- To access third port give following command:
interface fastethernet 0/3
- To configuration it to VLAN-102 give following command (Consider it is connected to a PC):
switchport access vlan 102
- To exit the port give the following command:
exit
- To exit configuration mode give following command:
exit
- To exit enable mode give following command:
exit
Do the same actions for both switches.
Congratulations! You have created a VLAN like the photo.